
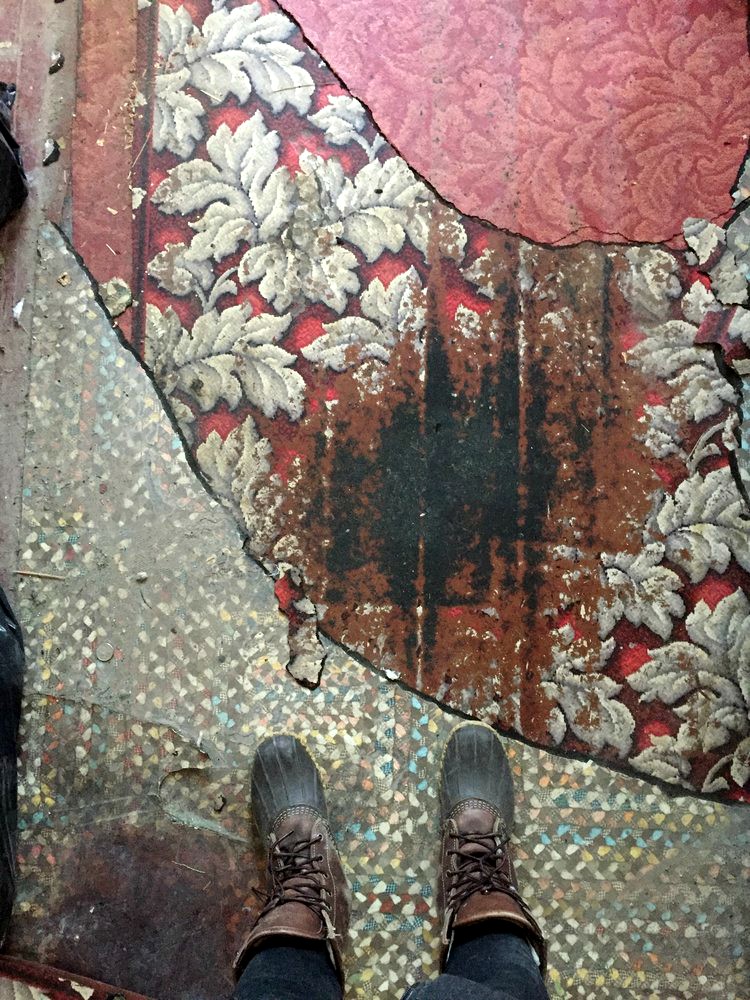
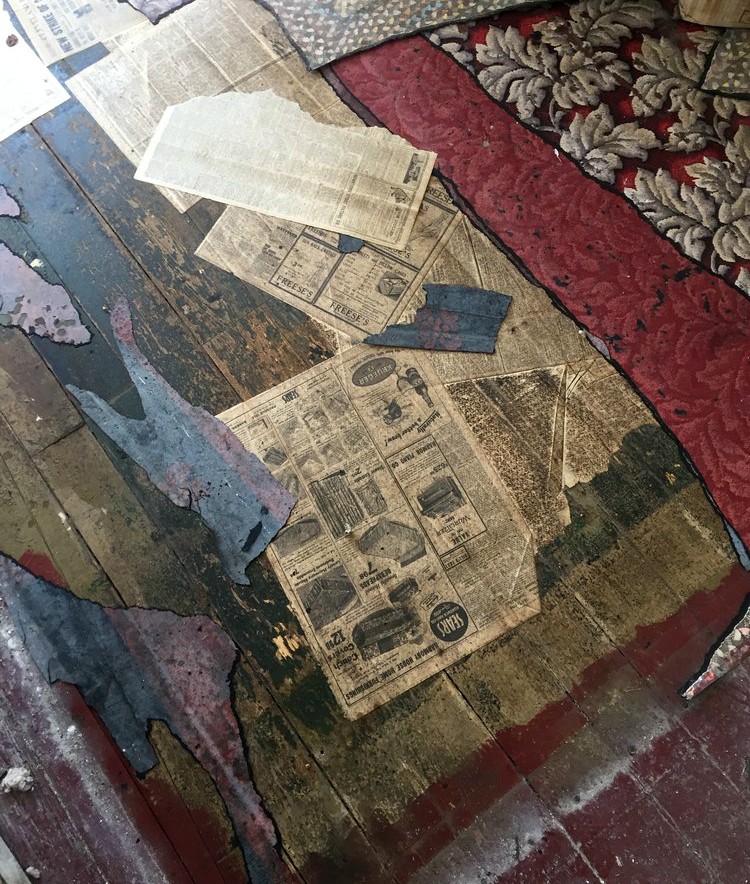
When we started working on our house, one of the things I was most excited about was trying to refinish the original wood floors in our living room and office. They had been covered with multiple layers of linoleum, newspaper, and paint for at least 75 years, but perhaps since the house was built in 1850. Because of this, we weren't totally sure what condition they would be in, but we decided to try stripping the paint and staining them, and if they were too far gone, we'd just throw another layer of paint on top. You can see below where we started.
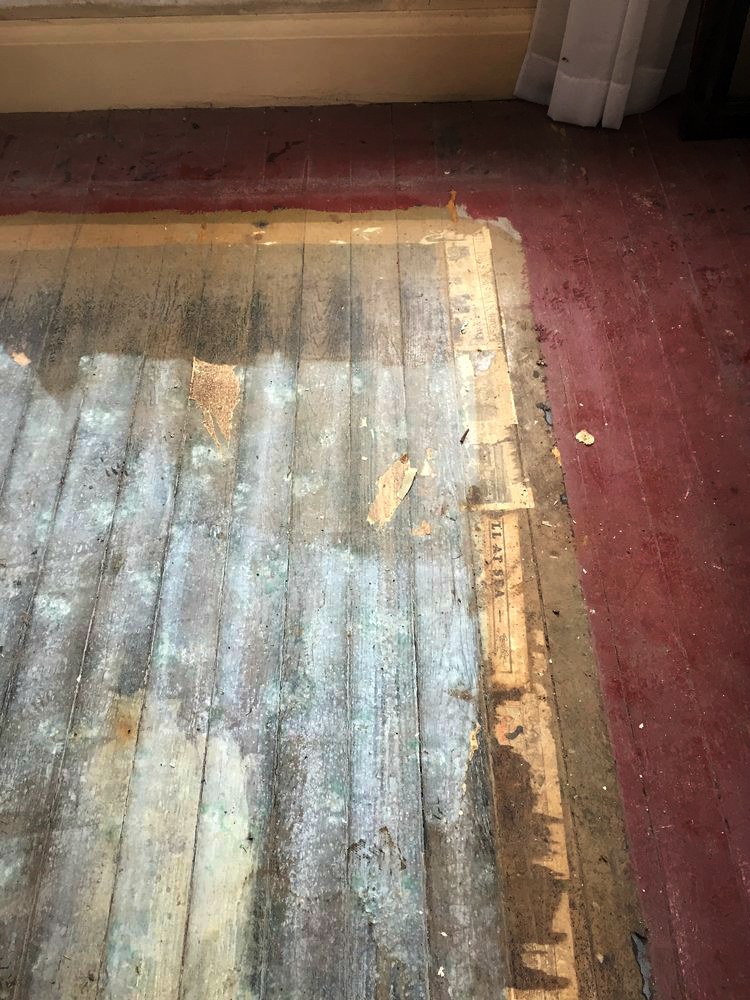
After everything was pealed up and cleaned, we rented a drum sander and an edger from Home Depot. I watched a zillion "how to" videos on these machines, but couldn't find any good info on doing this with antique painted floors, so I wasn't really sure what to expect. I did the first pass with the drum sander and was shocked to see it had barely made a dent in the paint. All the professional videos I watched showed instant results, but quickly realized those examples had perfectly even, smooth floors to begin with. Ours were cupped, cracked, uneven -- they show all their 166 years.
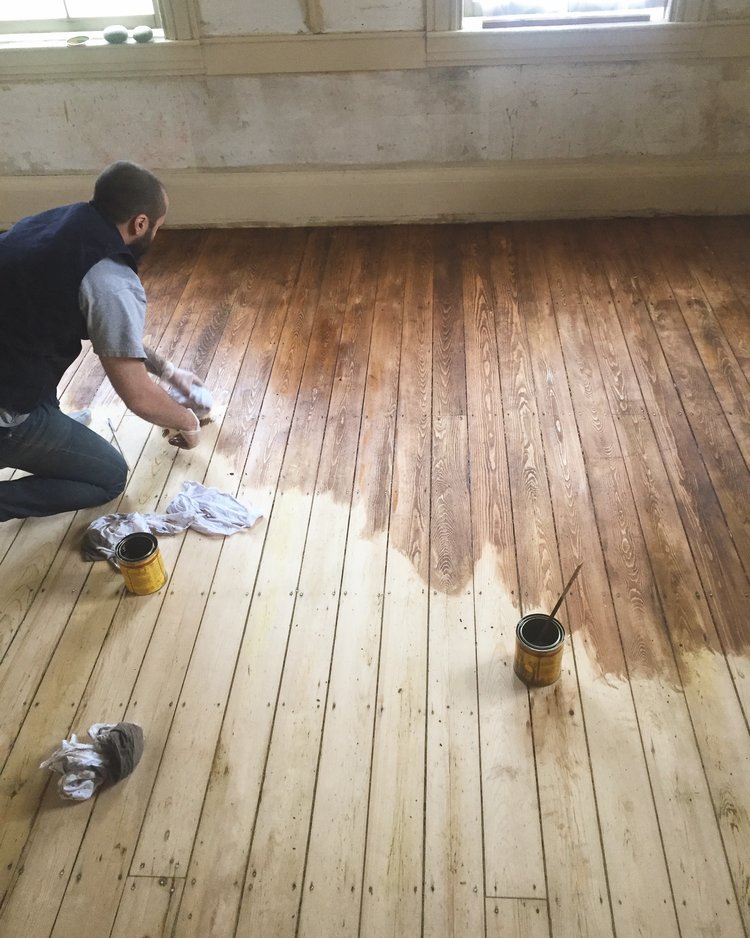
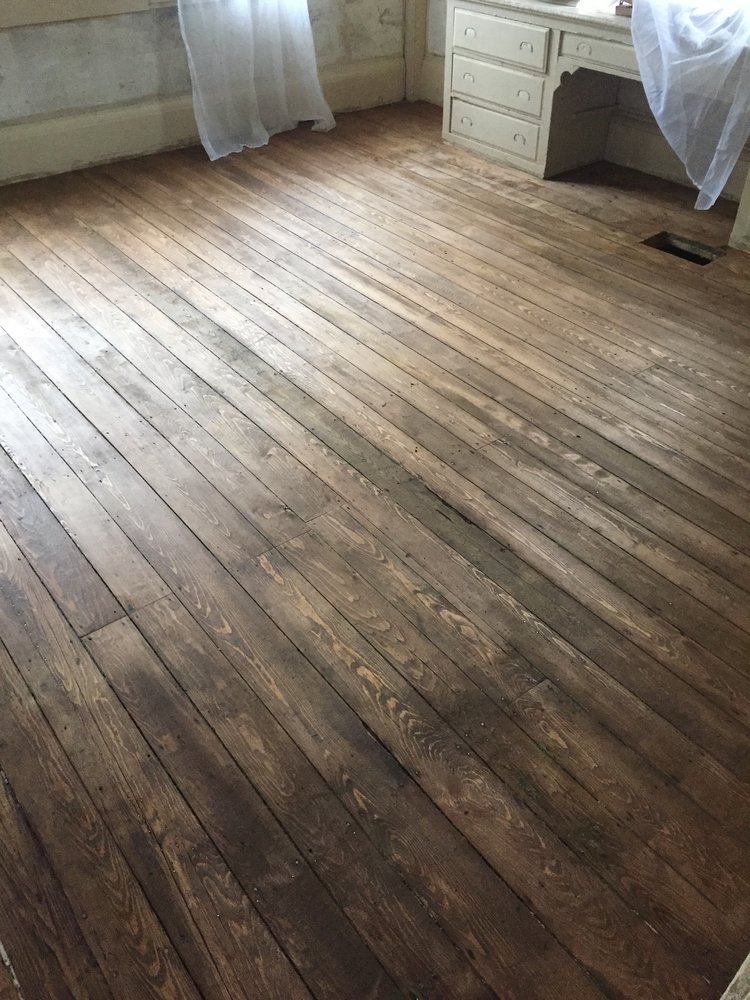
I ended up breaking all the rules I learned in those videos and just got really aggressive -- I went every which way on the floor, back and forth/diagonal/crisscross, going over and over certain areas to get stubborn paint patches up. And after about three hours (!!) I finally got all the paint off and made a significant improvement on evening out the boards. It was incredibly time consuming and physically difficult, but oh my god -- what a difference! You can see how nice and buttery those original floors were underneath all that junk.

Next, I went over the floors going up 20 grit per pass, ending with 120. This part was much easier, but I was also much more careful with the sander. Where I had previously abandoned everything I learned to get the paint off, I then went back to those techniques. The higher you go in grit, the more your wood is going to show any imperfections like digs, dents, and scuffs. Below is a photo of the flooring after it was finished with the highest grit. You can see how the grain pops and they look so smooth and rich and lighter in color.

Now that we were down to the raw wood, it was time to stain them. We chose Minwax Early American. Serendipitously, I saw Old Home Love use this stain color on a project they were doing at the same time. The floor was in similar shape/age as ours, and I loved how it turned out for them.
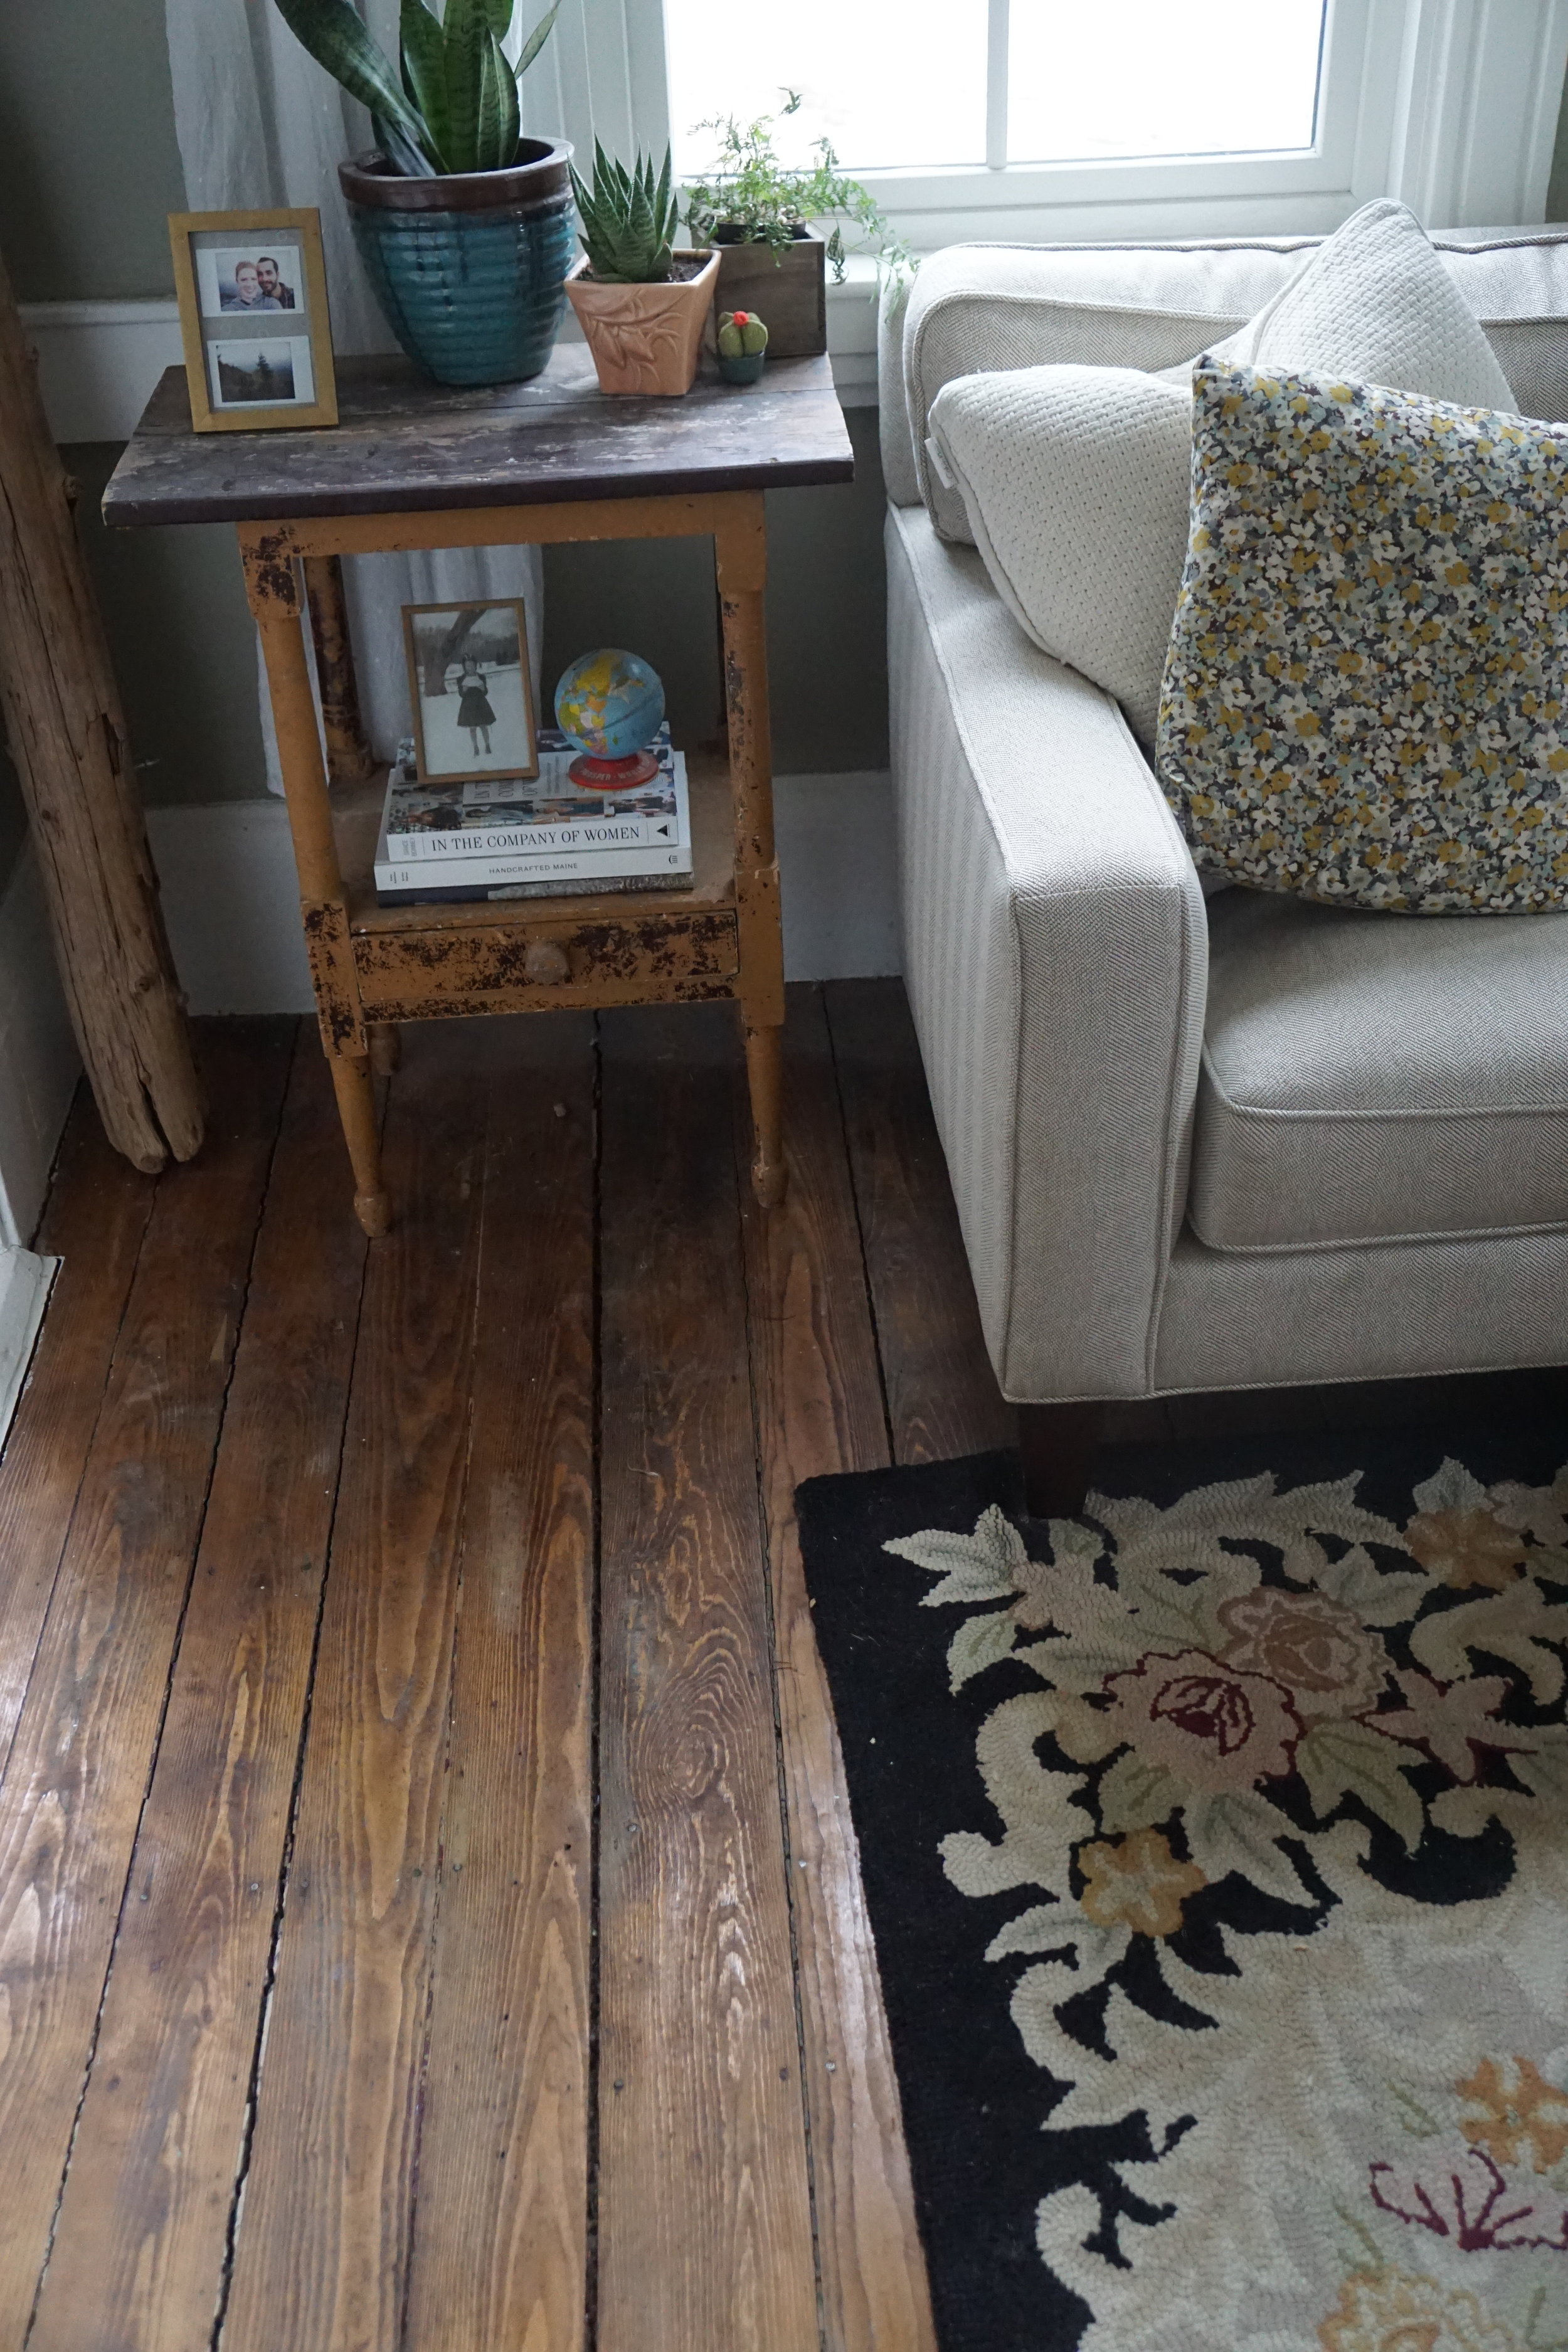
We did one coat of stain, and finished with two coats of Waterlox - second photo above shows the floors when we completed both of these steps. We chose this finish because it seems to be really forgiving, easy to maintain, and does not finish glossy but also weathers to become more worn-in looking over time. Using a tung oil finish also feels the most authentic for our home's original time period. You can see some more images of the floor below -- we have been living in the house for seven months and they've worn to a beautiful rich tone that we really love.

Some tips & advice
- If your floors are as junked up as ours, be prepared for it to take a long time. We ended up keeping both sanding tools for a full week, which was definitely not something we originally planned on.
- You're going to be really sore the next day. The edger is very powerful and hard to control without a lot of arm strength. I was so sore after using it I could barely open and close my car door or shift my manual transmission!
- It's really messy even with the dust bags on the machines. Wear a serious ventilator mask and eye protection. And know that you'll be cleaning up dust for a very long time. Shop vacs are your friend!
- Buy lots and lots of sandpaper. We underestimated how much we'd need for the tough grits (especially with the edger) and we had to run back to get more which was really frustrating (especially since the closest Home Depot that carried the materials was over an hour away). You can always return the ones you don't use!
- Embrace the imperfections. There are some spots where we could not get all the paint off, so we just left it. I think it brings out so much character and charm, and once all your furniture is back in the room they are barely noticeable.
If you have any questions about this process -- please let me know! We are really happy with the result.